Contents
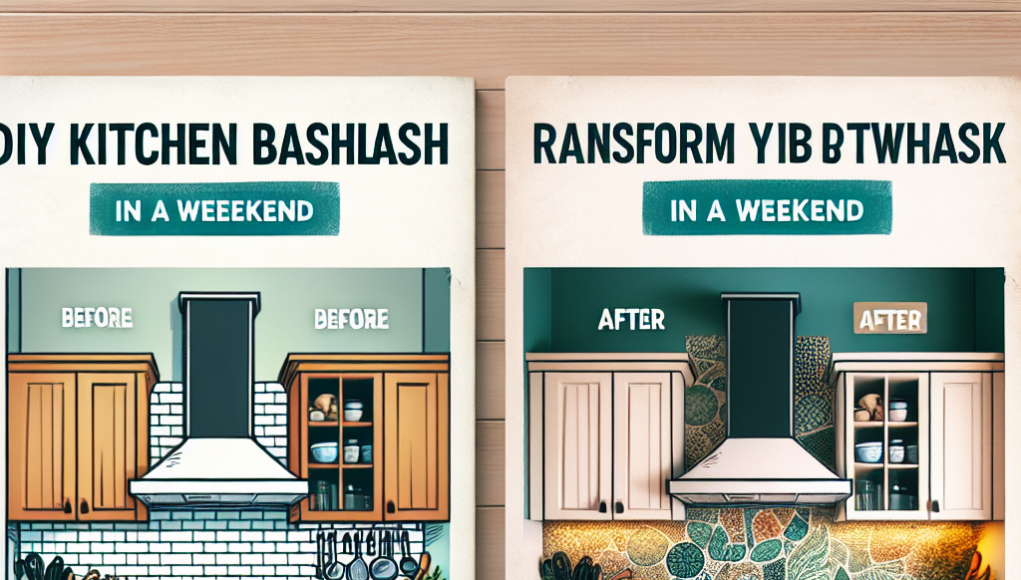
DIY Kitchen Backsplash: Transform Your Kitchen in a Weekend
Are you looking to give your kitchen a fresh new look without breaking the bank? A DIY kitchen backsplash can be a great way to transform your space in just a weekend! Whether you’re looking to add a pop of color, texture, or pattern, a new backsplash can make a big impact on the overall look and feel of your kitchen.
With a little bit of creativity and some basic tools, you can create a backsplash that reflects your personal style and enhances the functionality of your kitchen. From classic subway tile to trendy peel-and-stick options, there are endless possibilities to choose from when it comes to updating your backsplash.
So roll up your sleeves, grab your materials, and get ready to tackle this fun and rewarding DIY project. With a few simple steps, you can have a brand new kitchen backsplash that will impress your friends and family for years to come!
Introduction
Adding a backsplash to your kitchen can completely transform the look and feel of the space. It can also be a fun and rewarding DIY project that you can complete in just one weekend. In this blog post, we will walk you through the steps of creating your own DIY kitchen backsplash.
Materials Needed
- Ceramic tiles
- Tile adhesive
- Grout
- Tile spacers
- Tile cutter or saw
- Trowel
- Level
- Sponge
- Bucket
- Painter’s tape
Step 1: Prep the Wall
Before you begin tiling, make sure the wall is clean and dry. Use painter’s tape to protect the surrounding areas from any adhesive or grout.
Step 2: Measure and Cut the Tiles
Measure the area where you will be installing the backsplash and cut the tiles to fit using a tile cutter or saw. Make sure to leave space for the tile spacers.
Step 3: Apply Adhesive
Using a trowel, spread tile adhesive onto the wall in a small section at a time. Press the tiles into the adhesive, using the tile spacers to ensure an even layout.
Step 4: Grout the Tiles
Once the adhesive has dried, remove the tile spacers and apply grout to the spaces between the tiles. Use a sponge to wipe away any excess grout and let it dry completely.
Finishing Touches
Once the grout has dried, remove the painter’s tape and admire your newly transformed kitchen backsplash. Enjoy your new look and feel proud of your DIY skills!
Conclusion
Transforming your kitchen with a DIY backsplash is a rewarding project that can be completed in just one weekend. With the right materials and a little bit of patience, you can create a beautiful and personalized backsplash that will enhance the look of your kitchen. So what are you waiting for? Get started on your DIY kitchen backsplash today!
The Importance of a Kitchen Backsplash
A kitchen backsplash is a crucial element in any kitchen design. Not only does it serve a practical purpose by protecting the walls from stains and splatters, but it also adds a decorative touch to the space. A well-chosen backsplash can enhance the overall look of your kitchen and tie together the design aesthetic.
Types of Kitchen Backsplash Materials
There are various materials that can be used for a kitchen backsplash, including ceramic tiles, glass tiles, stainless steel, marble, and more. Each material has its own unique advantages and can create a different look in your kitchen. It’s important to choose a material that not only complements your existing kitchen decor but is also easy to clean and maintain.
For more information on different types of kitchen backsplash materials, you can visit Wikipedia’s page on backsplashes.
DIY Kitchen Backsplash FAQs
What materials do I need to create a DIY kitchen backsplash?
To create a DIY kitchen backsplash, you will need tiles, adhesive, grout, spacers, a tile cutter or wet saw, a trowel, a level, a sponge, and cleaning supplies.
How long does it take to install a DIY kitchen backsplash?
Installing a DIY kitchen backsplash can typically be completed in a weekend, depending on the size of your kitchen and the complexity of the design.
Do I need any special skills to install a DIY kitchen backsplash?
While some basic DIY skills are helpful, installing a kitchen backsplash can be a beginner-friendly project. With the right tools and materials, you can transform your kitchen in no time.
What are the benefits of a DIY kitchen backsplash?
A DIY kitchen backsplash can add a personalized touch to your kitchen, increase the value of your home, protect your walls from splashes and spills, and give your kitchen a fresh and updated look without breaking the bank.
Benefits of DIY Kitchen Backsplash
- Cost-effective
- Easy to customize
- Can be completed in a weekend
Materials Needed
- Tile or peel-and-stick backsplash
- Grout
- Tile adhesive
- Tile spacers
- Tile cutter (if necessary)
Steps to DIY Kitchen Backsplash
- Clean and prepare the wall
- Measure and cut tiles
- Apply adhesive and place tiles
- Add grout and clean excess
- Enjoy your new backsplash!


