Contents
Ceramic Cutting Boards and Food Photography: Tips and Tricks
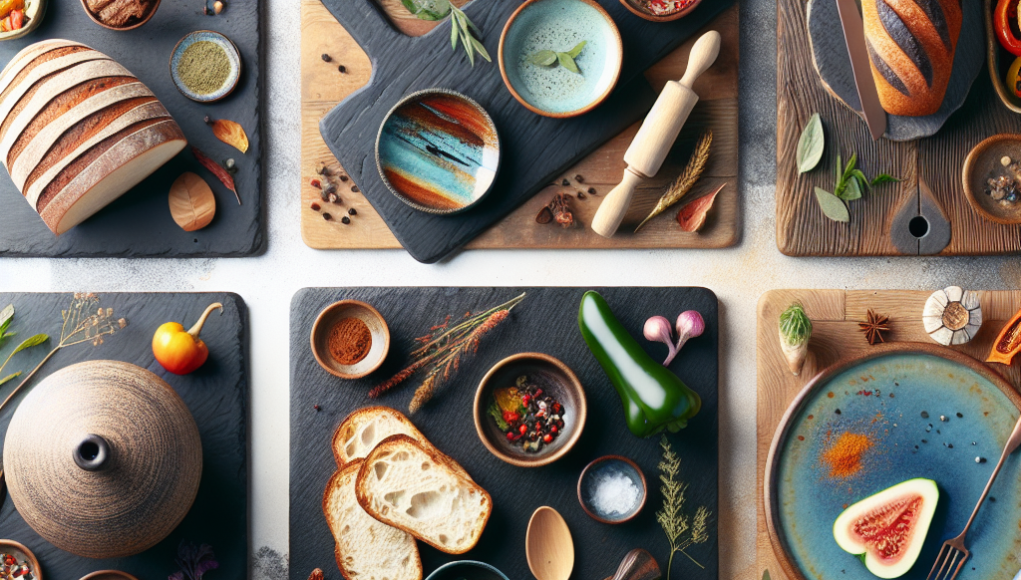
Ceramic cutting boards are an emerging favorite among culinary enthusiasts and professional chefs alike. Not only do they provide a sleek and stylish surface for food preparation, but they also serve as an excellent backdrop for food photography. With their glossy finish and vibrant designs, ceramic cutting boards can enhance the visual appeal of your culinary creations.
This introduction will explore some essential tips and tricks for utilizing ceramic cutting boards in your food photography. From styling your dishes effectively to optimizing lighting conditions, you’ll discover how to make the most of these beautiful boards in your culinary images. Whether you’re an amateur photographer or a seasoned pro, these insights will elevate your food photography game.
Ceramic Cutting Boards: An Overview
Ceramic cutting boards are gaining popularity in kitchens for their aesthetic appeal, durability, and utility. These boards are often chosen for their smooth surface, which makes them ideal for food preparation and display.
Benefits of Ceramic Cutting Boards
- Durability: Ceramic boards are resistant to nicks and scratches, maintaining their appearance even with frequent use.
- Non-porous Surface: This prevents the absorption of bacteria and odors, making them hygienic for food preparation.
- Easy to Clean: Simply wash with soap and water to keep your board in pristine condition.
- Versatility: They can double as stylish serving platters for your culinary creations.
Food Photography: The Basics
Choosing the Right Background
The background can greatly influence the overall aesthetic of your food photographs. When using a ceramic cutting board, consider the following:
- Use neutral or contrasting colors to make the food stand out.
- Opt for textured or patterned backgrounds to add depth to the image.
Lighting Techniques
Good lighting is crucial for food photography. Natural light works best, but here are some tips:
- Use diffused light from a window for softer shadows.
- Avoid harsh overhead lights that can wash out colors.
- Experiment with backlighting to create a glow effect around your food.
Tips for Arranging Food on Ceramic Cutting Boards
Layering and Placement
How you arrange your food can impact the allure of the photograph:
- Layer items for a more dynamic presentation.
- Leave some negative space to keep the focus on the food.
- Utilize the board’s shape to guide your arrangement.
Incorporating Props
Props can enhance your storytelling in food photography:
- Add utensils, napkins, or fresh herbs to create a more visually engaging scene.
- Avoid clutter; choose a few carefully selected items that complement the food.
Post-Processing Tips
Editing Software
Utilize photo editing software like Adobe Photoshop or free alternatives like GIMP to enhance your images.
Adjusting Color and Contrast
Make sure your food looks vibrant:
- Boost the contrast to help the food pop.
- Adjust the saturation and color balance to make colors more appealing.
Sharpening Your Image
A slight sharpen can enhance the details of the food, making it more appealing:
- Be careful not to over-sharpen, which can create unnatural edges.
- Consider sharpening selectively, focusing on key areas of the dish.
Conclusion
Finding the perfect balance between kitchen utility and aesthetic presentation is key in food photography. With the right techniques and tools, including ceramic cutting boards, you can beautifully capture your culinary creations.
Ceramic Cutting Boards: A Kitchen Essential
Ceramic cutting boards are stylish and practical tools for any kitchen. Their non-porous surface makes them ideal for food preparation, while also providing an aesthetically pleasing backdrop for food photography.
Advantages of Using Ceramic Cutting Boards
- Durable and long-lasting
- Easy to clean and maintain
- Non-reactive with food
Food Photography Tips with Ceramic Cutting Boards
When using ceramic cutting boards for food photography, consider the following tips to enhance your images:
1. Play with Lighting
Natural light works wonders. Position your board near a window to capture the best light and bring out the colors of your ingredients.
2. Arrange Ingredients Creatively
Utilize the cutting board to display fresh ingredients artistically. Arrange them in a way that tells a story about your dish.
3. Choose Contrasting Colors
The color of the ceramic can greatly impact your photos. Pair bright or textured ingredients with a neutral ceramic board for an eye-catching contrast.
Enhancing Your Skills
To expand your food photography skills and discover more tips, you can refer to more information on food photography on Wikipedia.
Shop Now for the Best Deals!
Ceramic cutting boards are non-porous, which makes them resistant to bacteria and easy to clean. They also provide a smooth surface for chopping, helping to maintain your knife’s sharpness. Yes, ceramic cutting boards are safe for all types of food. They do not absorb odors or stains, making them ideal for preparing meats, fruits, and vegetables. To clean a ceramic cutting board, simply wash it with warm soapy water. Avoid using abrasive cleaners that could scratch the surface. For deep cleaning, a mixture of vinegar and baking soda can be effective. While ceramic cutting boards are generally durable, they can chip or crack if dropped or handled roughly. It’s best to use them with care. Use natural light to enhance the colors and textures of your food. Position your ceramic cutting board at an angle to create depth, and consider adding props like utensils or ingredients to complement your dish. Contrasting colors can help your dish stand out. Use vibrant ingredients or garnishes. Additionally, consider incorporating different textures, such as herbs or spices, to add visual interest. For food photography, use a wide aperture (f/2.8 to f/5.6) to create a shallow depth of field. Adjust the ISO to keep it low (100-400) for the best quality, especially in natural light settings. Yes, props can help tell a story and add context to your photos. Choose utensils, napkins, or additional ingredients that complement the dish and create a cohesive look.FAQs about Ceramic Cutting Boards and Food Photography
1. What are the benefits of using a ceramic cutting board?
2. Are ceramic cutting boards safe for all types of food?
3. How should I clean and maintain my ceramic cutting board?
4. Can ceramic cutting boards chip or break easily?
5. What tips do you have for photographing food on ceramic cutting boards?
6. How can I make my food photos pop against a ceramic cutting board?
7. What camera settings are recommended for food photography?
8. Should I use props in my food photography?
Ceramic Cutting Boards
- Durability: Ceramic boards are scratch and stain-resistant.
- Non-porous: Prevents absorption of food odors and bacteria.
- Aesthetic Appeal: Available in various colors and patterns.
- Weight: Heavier than plastic or wood, providing stability.
- Maintenance: Easy to clean; often dishwasher safe.
Food Photography Tips
- Lighting: Use natural light for better color representation.
- Composition: Use the rule of thirds for balanced images.
- Angles: Experiment with different angles (top-down, eye-level).
- Props: Incorporate utensils and ingredients to add context.
- Editing: Use soft editing apps to enhance colors without overdoing it.


